Frequently Asked Questions and Answers
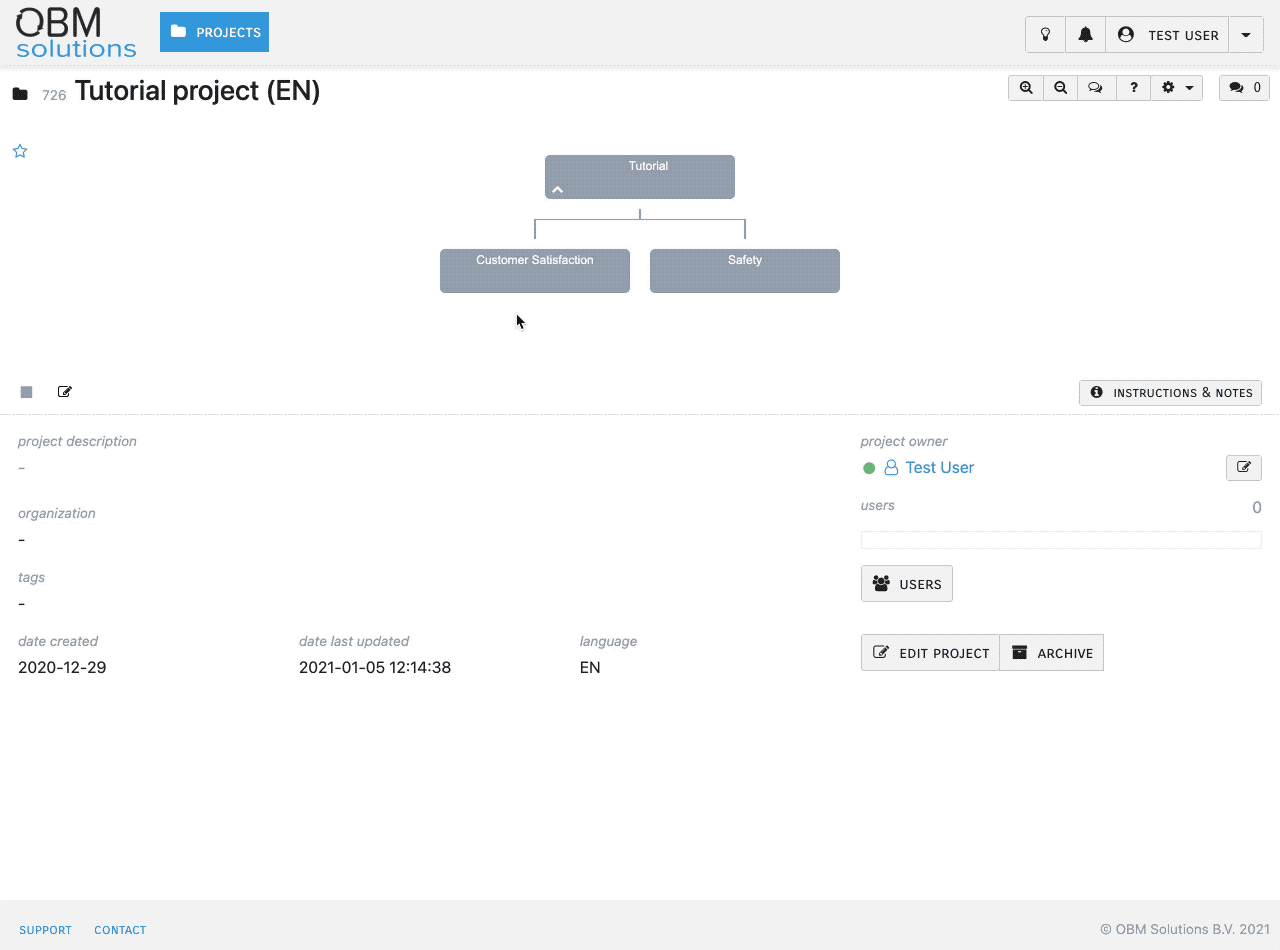
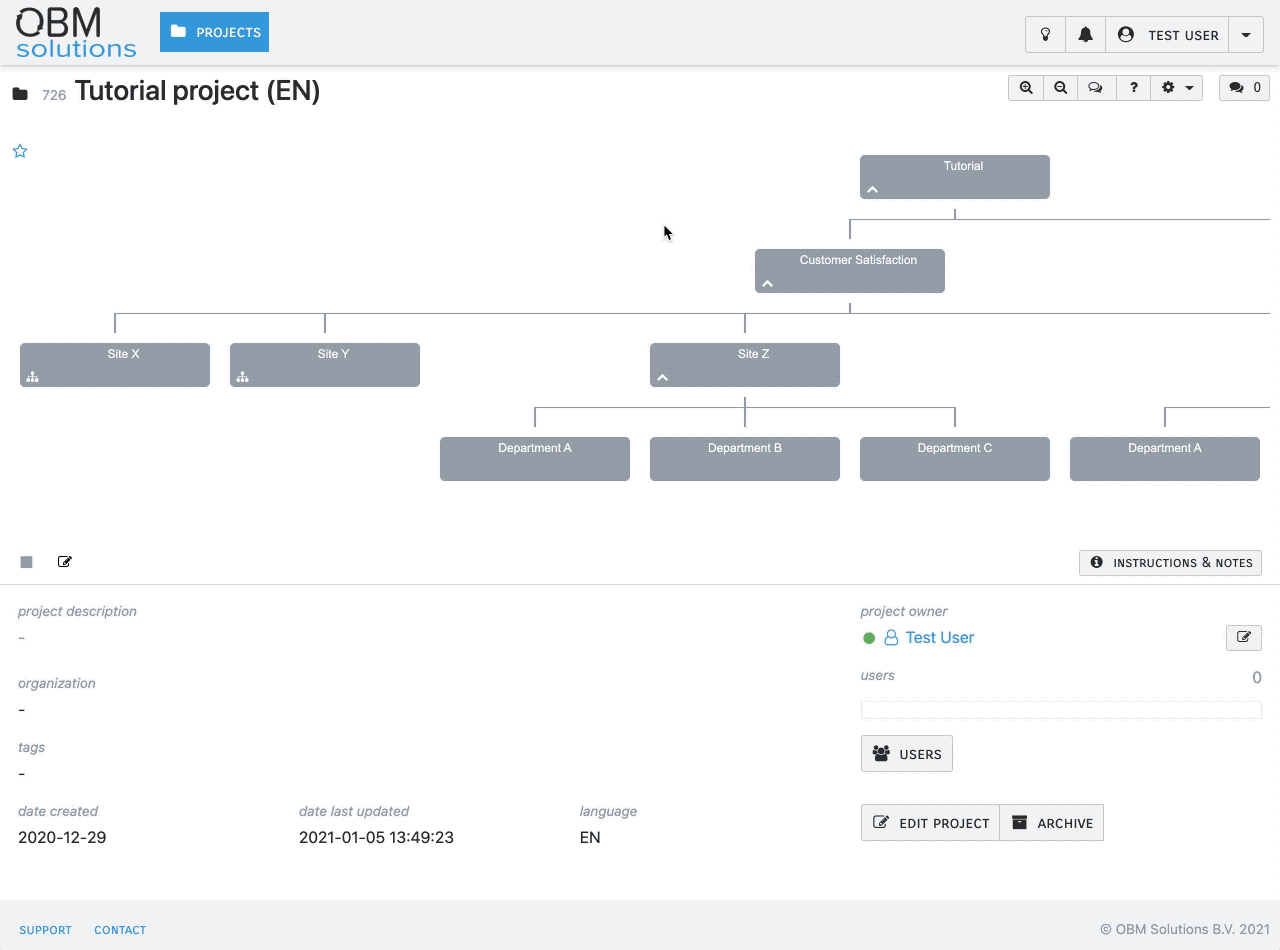
Goal Tree
How do I create a Goal Tree?
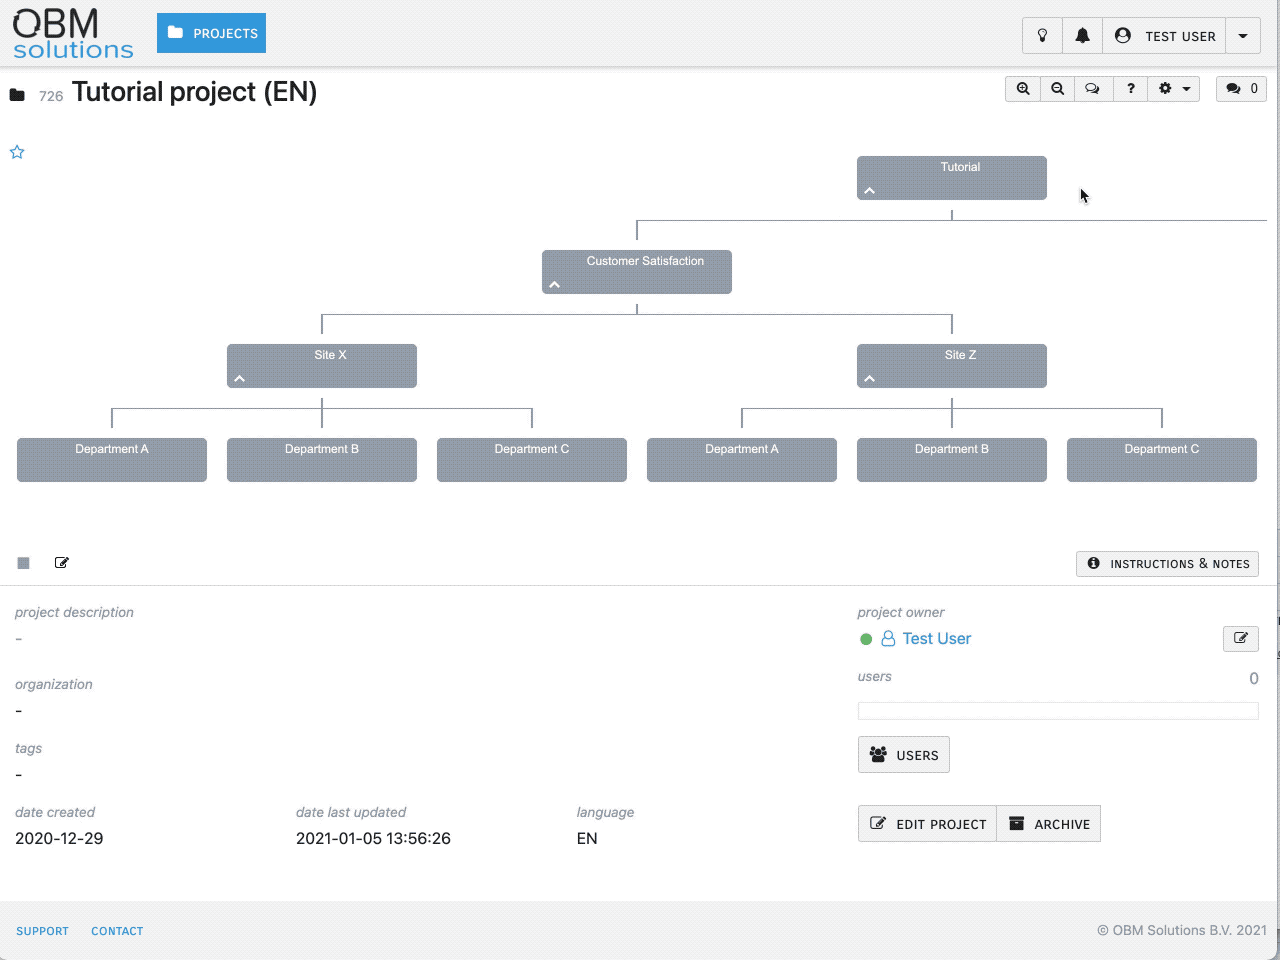
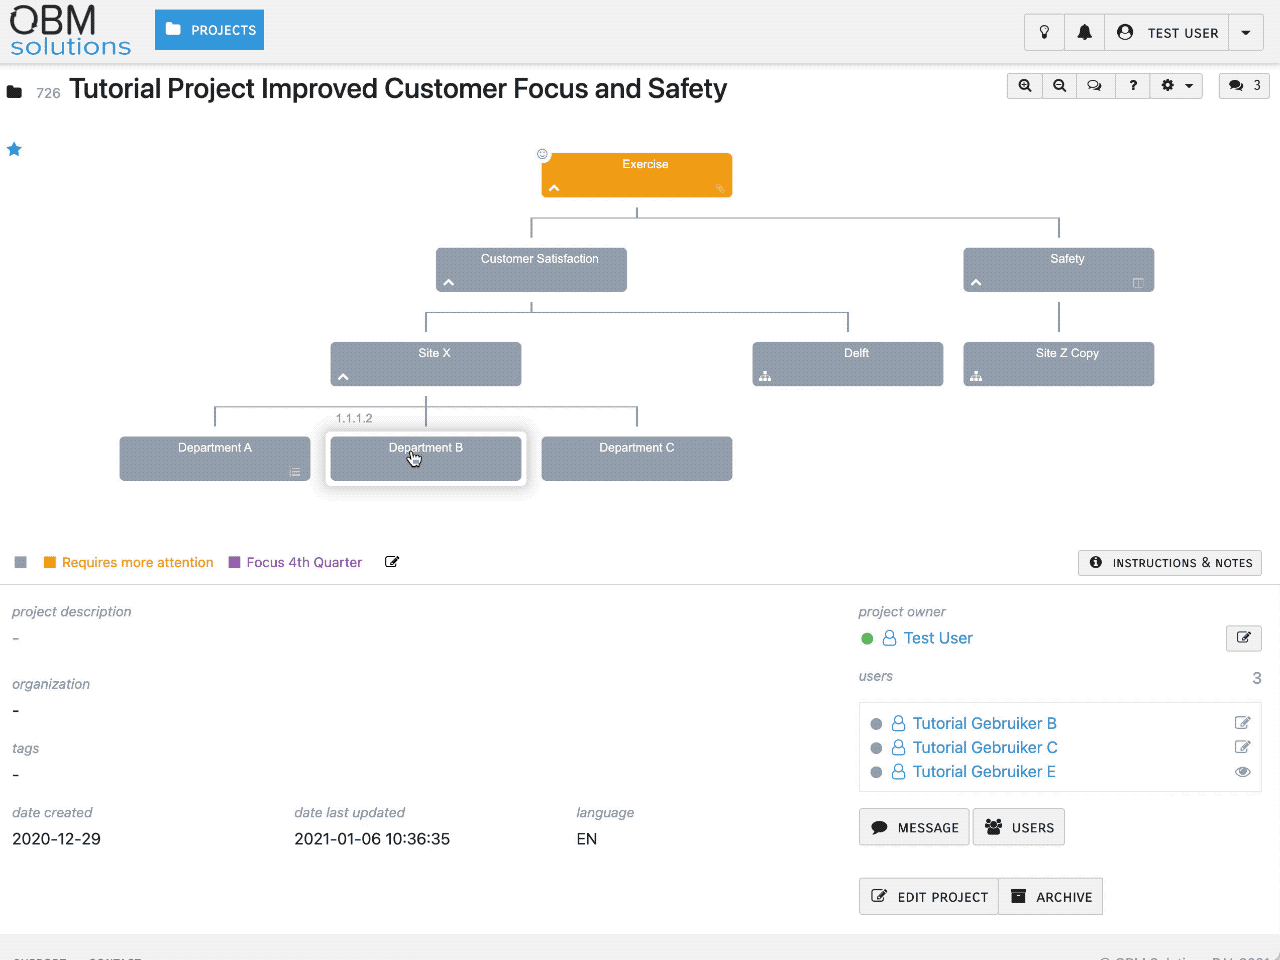
A Goal Tree is very useful while clarifying an abstract goal by subdividing it in smaller parts. Those parts can be themes, but also organizational units, such as a location or a department, or even teams and individuals. There are no limits to the structure of the Goal Tree.
This is how you create a Goal Tree:

How can I duplicate a goal (with all that is attached to it)?
This section explains how to duplicate a goal within a Project, including all that is attached to it.
It is usually best to first complete one tree branch and activate all relevant modules. The next step is to duplicate this entire branch.
This ensures that all constituant parts, including content, are added to this duplicate.
This is how you duplicate a goal:
How can I move a goal to a new location in the tree (under a new "parent")?
Sometimes you become aware that a part of your Goal Tree is not exactly where you need it to be.
Of course, you want to move that part and link it to a new "parent" (an overarching goal).
This is how you move a goal:
How can I move a goal to the left or to the right (under the current "parent")?
It is easy to move a goal, or a branch of subgoals to the left or to the right.
We are talking about a move, while remaining linked to the same "parent" (goal), simply because you wish to change the sequence. Hover your mouse pointer over a goal and click one of the 'move target icons' that appear if on the left and right side of that goal.
This is how you move a goal left or right:
How can I remove a goal from the tree (including all subgoals)?
It is easy to remove a goal from the Goal Tree.
Note: You then automatically also remove all "children" (subsequent goals) that are linked to the goal you wish to remove.
If you don't want that to happen, please move these "children" first to a new location in the Goal Tree. For more help on this topic, please see: 'How can I move a goal to a new location in the tree (under a new "parent")?
This is how you remove a goal from the Goal Tree:
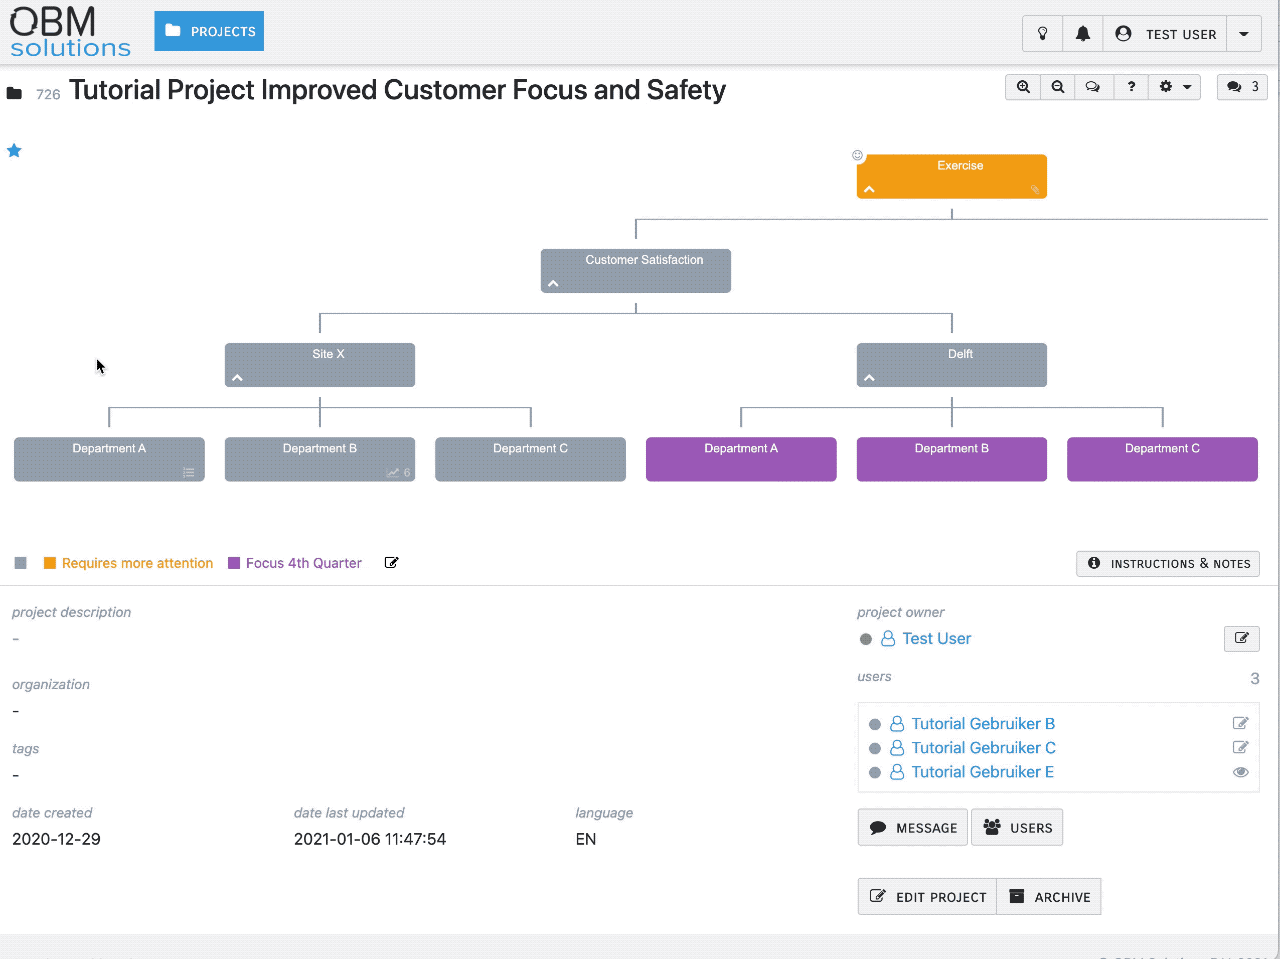
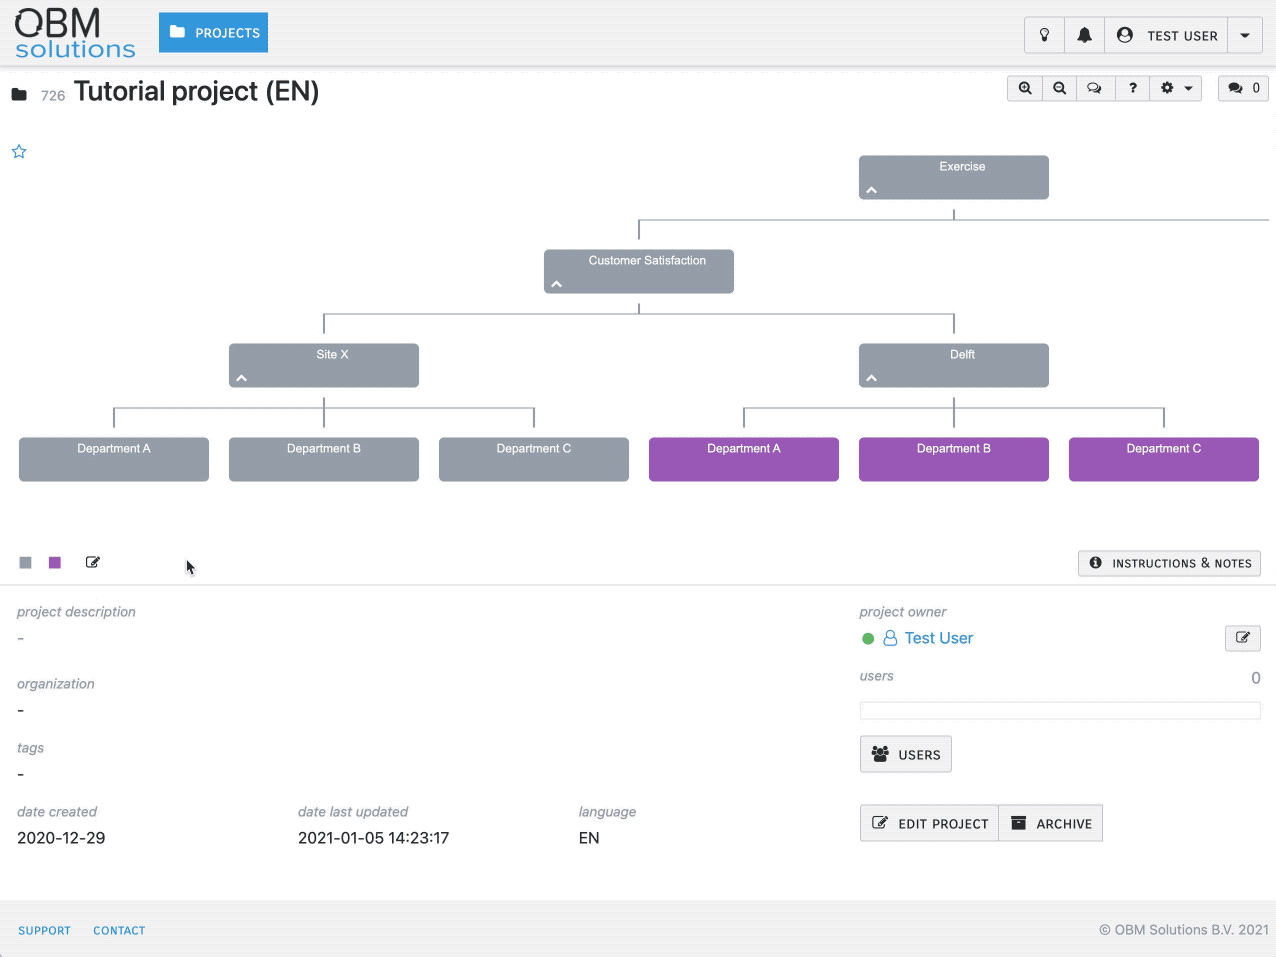
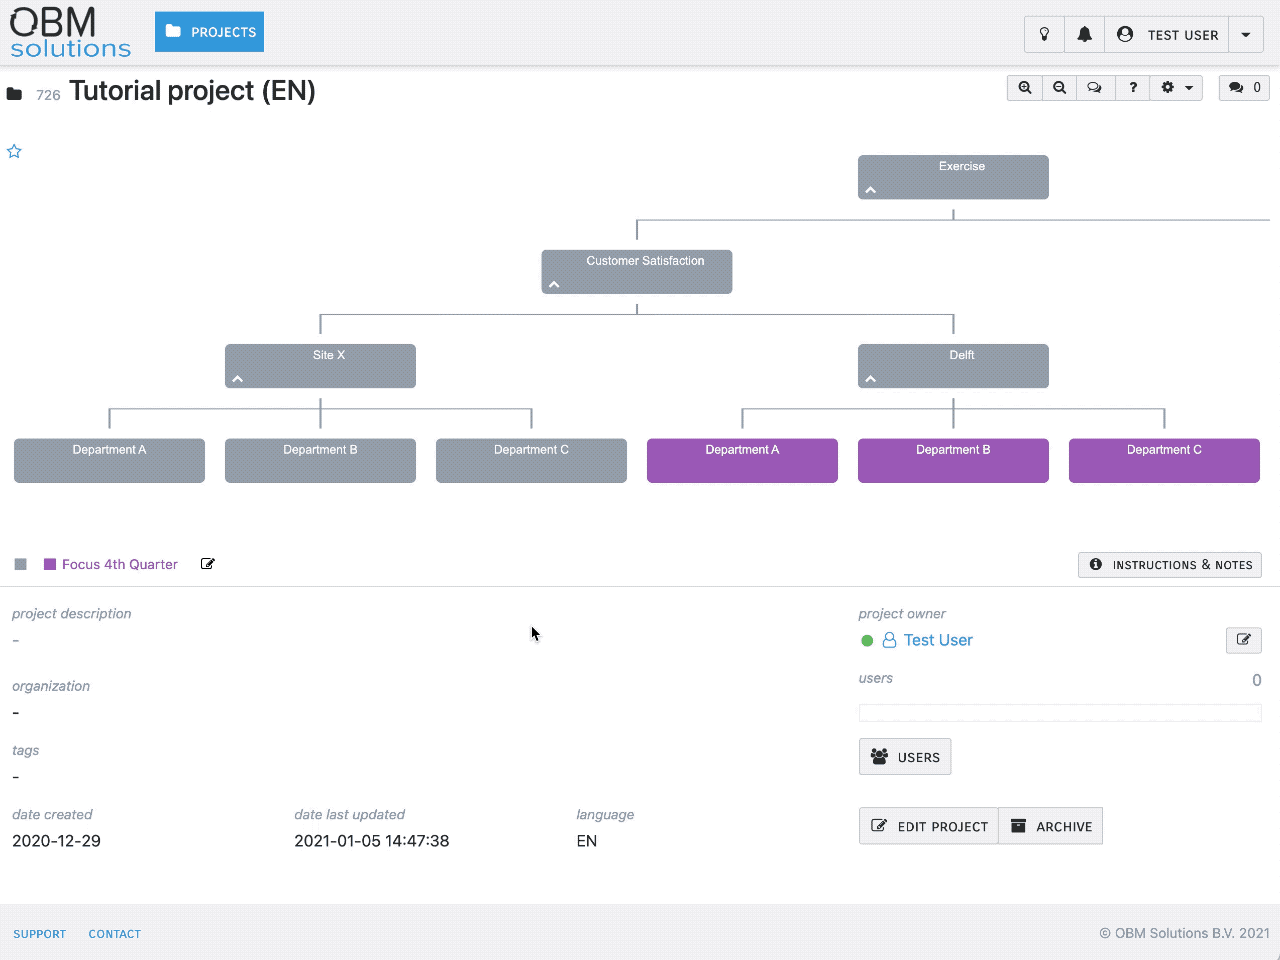
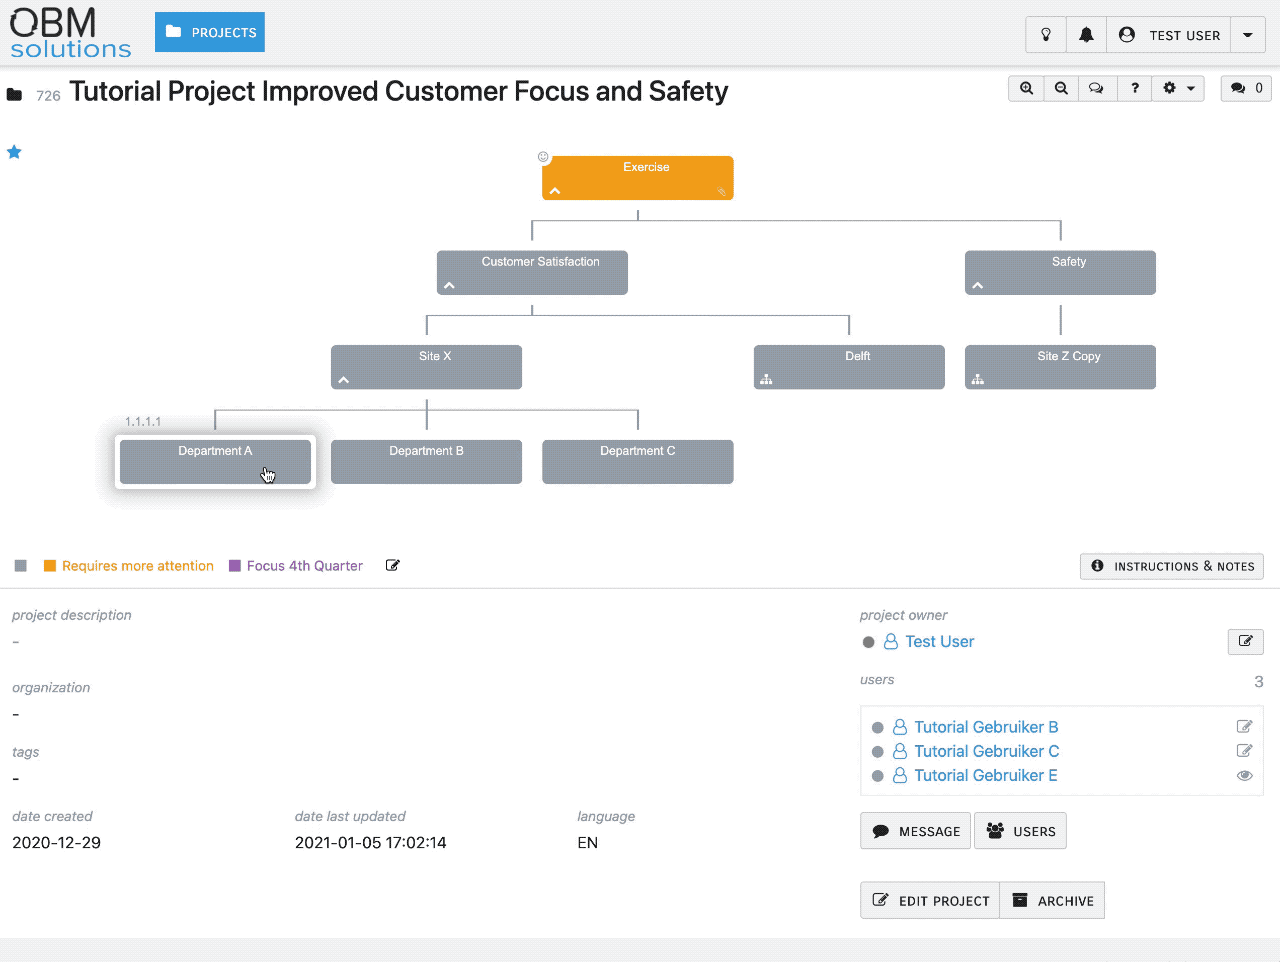
How do I create or modify the legend for the Goal Tree?
If you like, you can create or modify a legend for the Goal Tree. Think of a situation in which you used different colors to categorize various goals.
E.g. because they are part of the same organizational unit, or linked to the same theme. Or maybe you wish to assign a certain priority to goals and you want to use colors to be able to discriminate between various priorities.
You can create and assign the legend yourself.
It works like this:
How can I modify the Goal Tree overview, in case it does not match my screen size?
As your Goal Tree develops and grows, you might lose the project overview on your screen. This can easilly be fixed. There is a number of functions available for you to improve or restore the overview of your Project.
You can use any combination of the following options:
1. Move the dotted line under the Tree
You can create more room by dragging the underlying screen downwards by pulling the horizontal dotted line in a downward direction.
This horizontal dotted line appears if you move your mouse pointer in the area below the Goal Tree and just above the separator. Simply use "drag and drop" to move the dotted line.
2. Collapse branches
By temporary collapsing less relevant branches of the Goal Tree you improve your overview.
Use the icon that appears at the bottom left of each goal, in case the goal contains "children" (subgoals).
To unfold a collapsed branch again, click the same icon again.

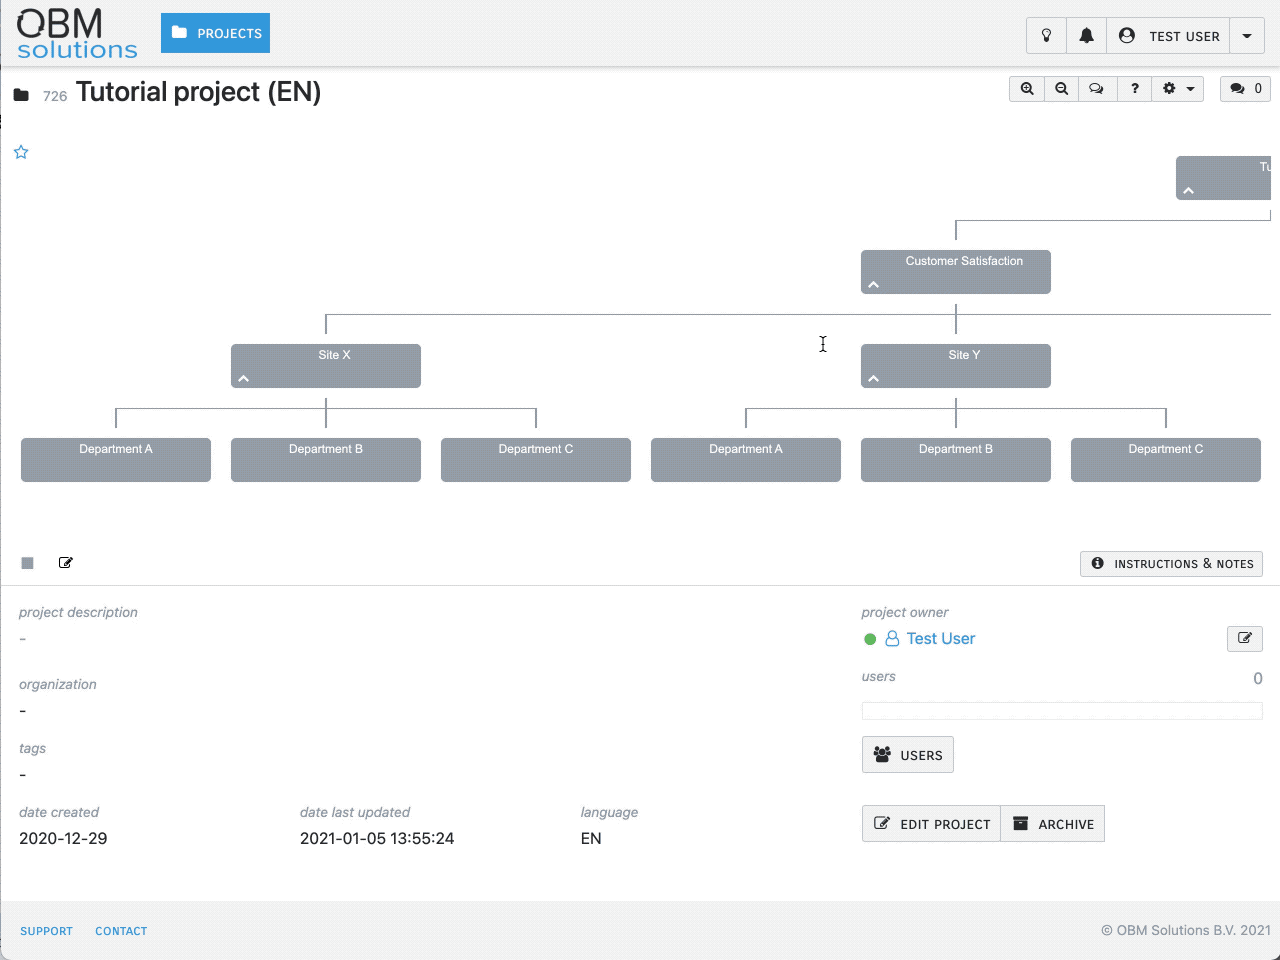
3. Move the entire Goal Tree
You can improve the overview on your screen by dragging the entire canvas of the Goal Tree to the left or to the right.
4. Zoom out
You can improve your overview by zooming out.
This reduces the physical size of the Goal Tree and thus creates more room and improves your overview.
Zooming out sometimes is at the expense of readability. So, you may want to zoom out first to be able to select a specific goal and then zoom in on that goal to increase readability.
How can I link projects through a link in a goal of a Goal Tree (go from one project to the next project using a link in a goal)?
The ability to link projects can be useful for a number of reasons:
- The original Goal Tree remains more compact. We strongly advice to limit the number of levels attached to the main goal to three.
- A Goal Tree can contain multiple subprojects, each of which can have its own Project Manager assigned to it. The Project Manager is allowed to expand and develop the Goal Tree of that subproject as (s)he sees fit. The Project Manager decides what the Goal Tree should look like and who should have access to their project. Therefore it can be convenient to conceal specific parts of the Goal Tree by using project links. This allows you to keep a full overview of the entire project and all it subprojects, while on the other hand you prevent people that work on subgoals to see the bigger picture.
This is how that works:
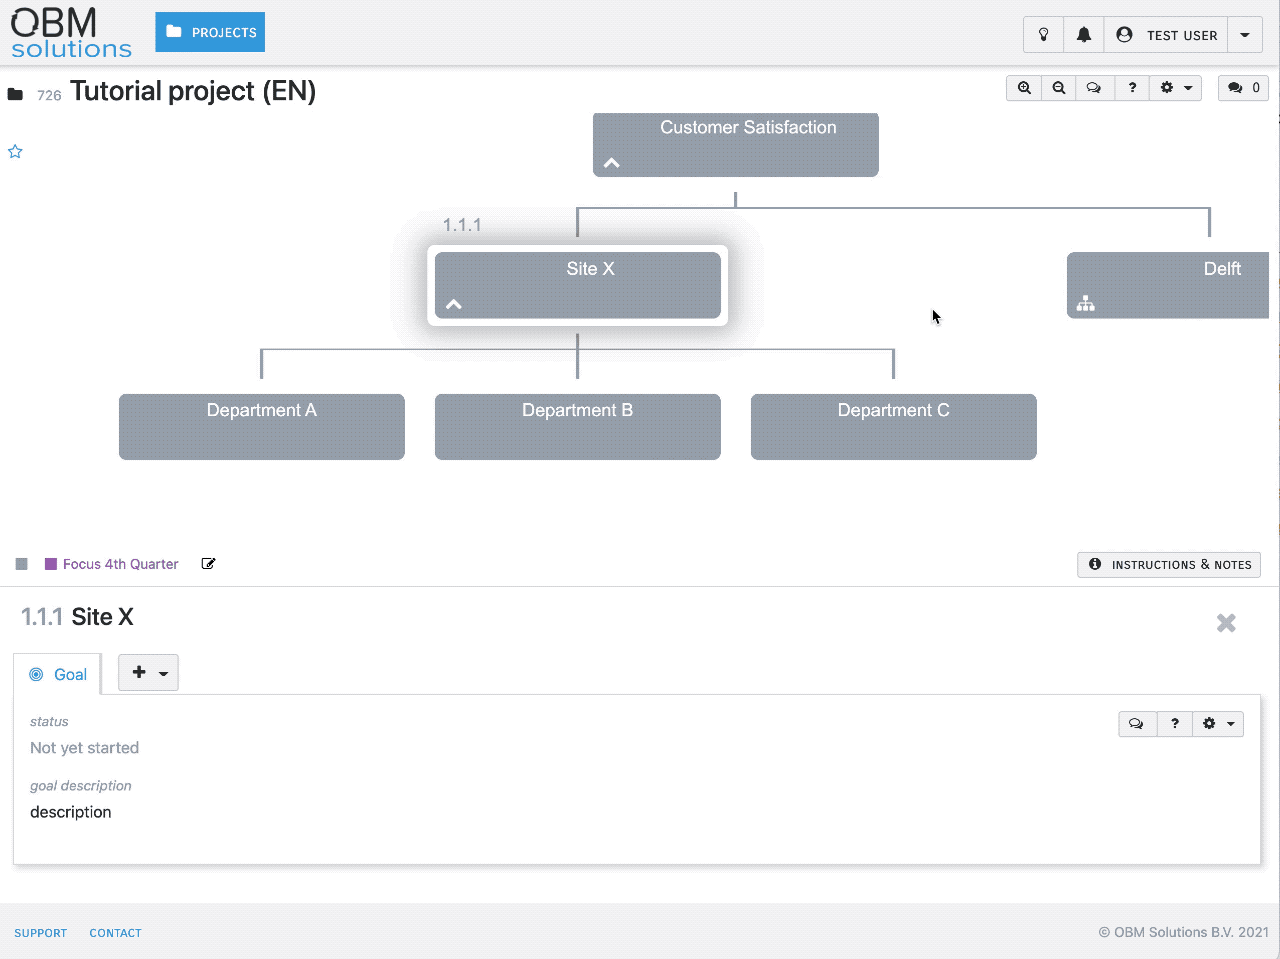
How can I edit the title and color of a goal in the tree?
Each goal in the Goal Tree can be edited in the Edit Goal dialog.
How do I change a project goal description?
The description of a project goal can be changed in the 'Goal' tab of a selected goal or in the 'Edit goal' dialog.

How do I update the status of a project goal?
The status of a project goal can be changed in the 'Edit Goal' dialog.
How do change the color of a Goal?
Change the color of a Goal in the 'Edit Goal' dialog, and optionally add a descriptive label in the legend.
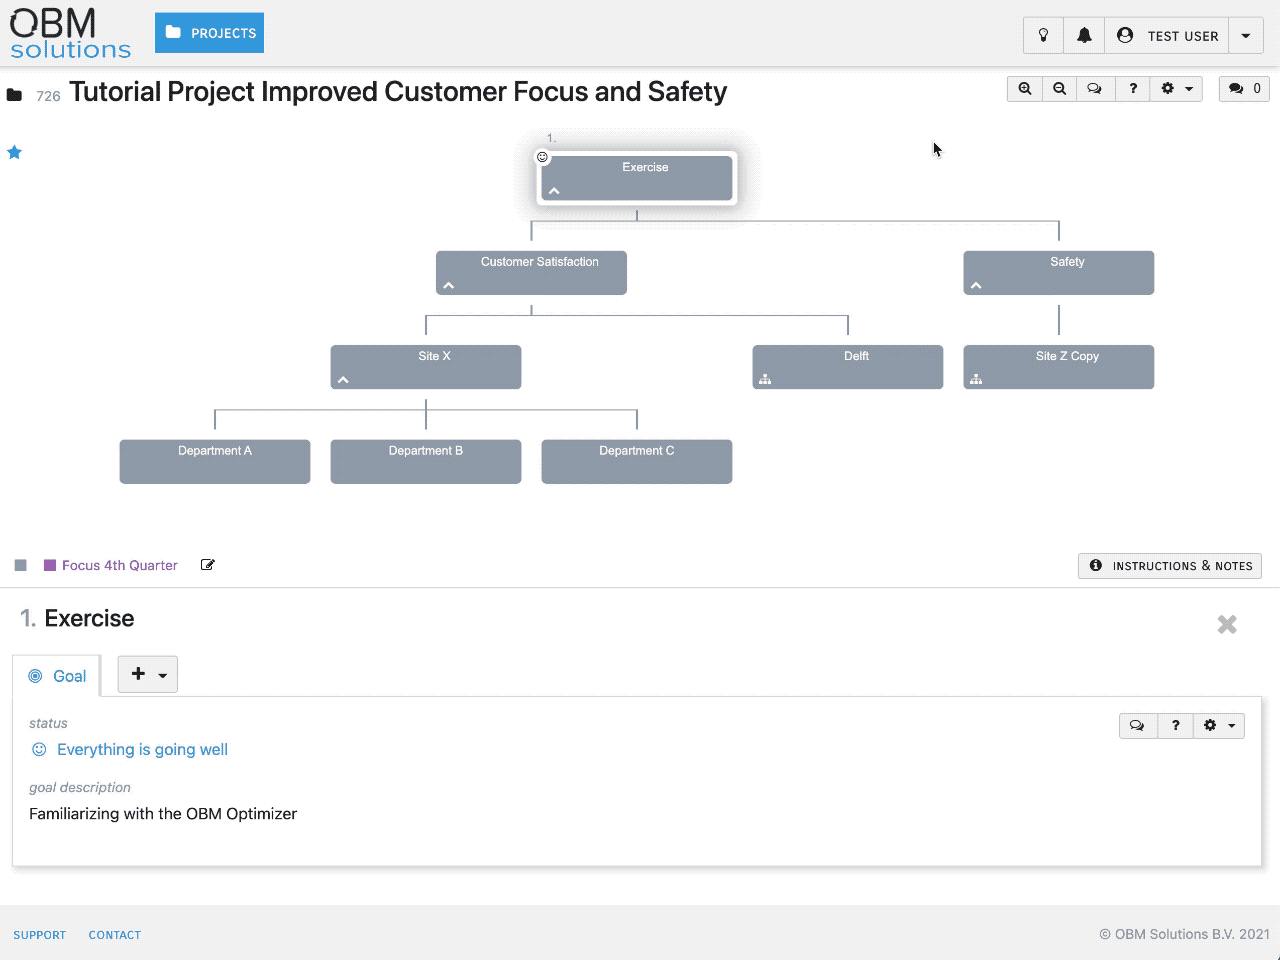
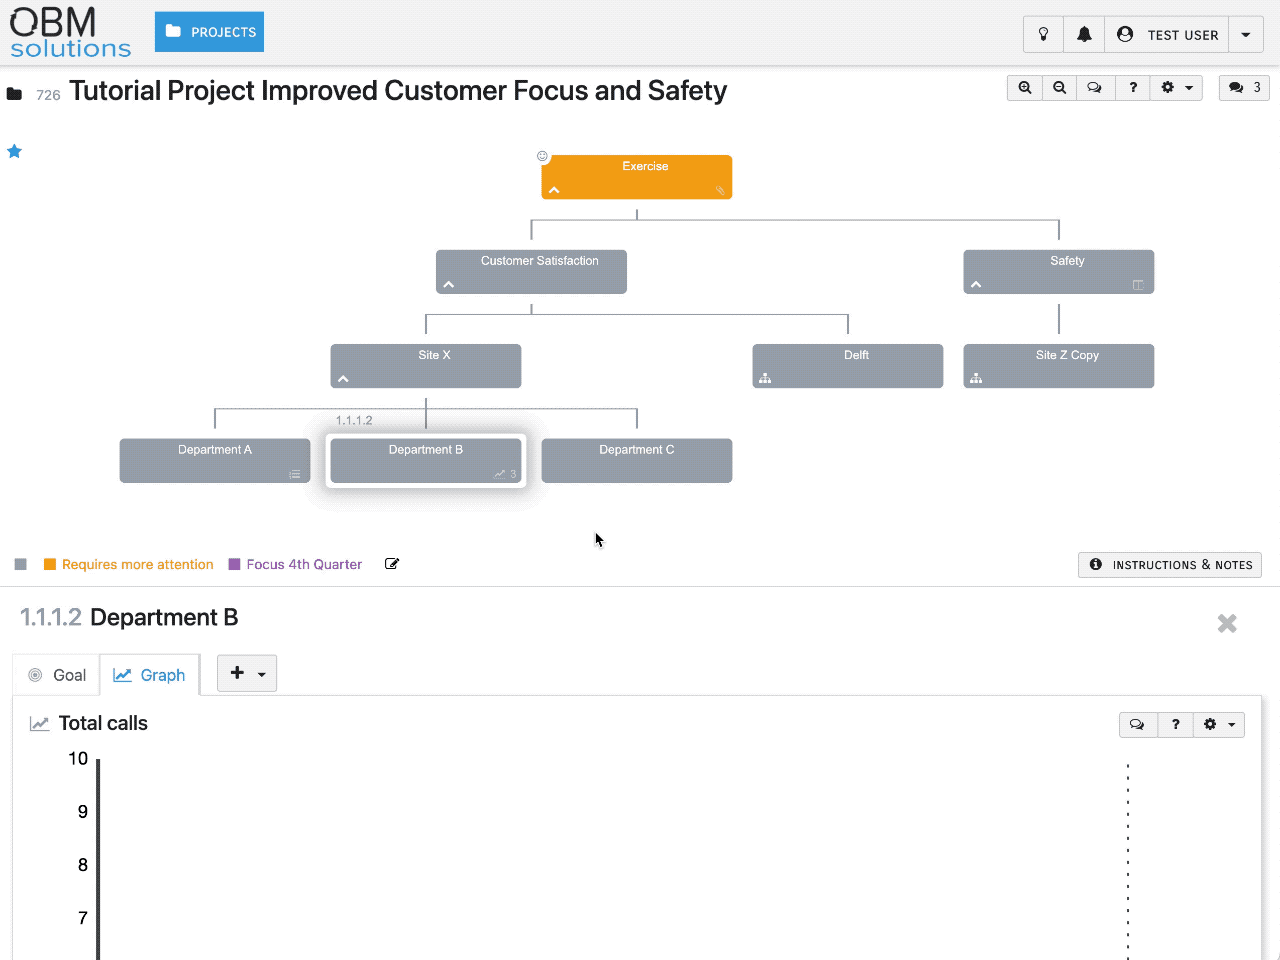
How do I add modules to a Project Goal?
Multiple modules can be attached to each Project Goal. (For example one Performance Improvement Plan, one ABC Analysis and one Graph.)
Use the [+] button to add a module to a selected Project Goal.

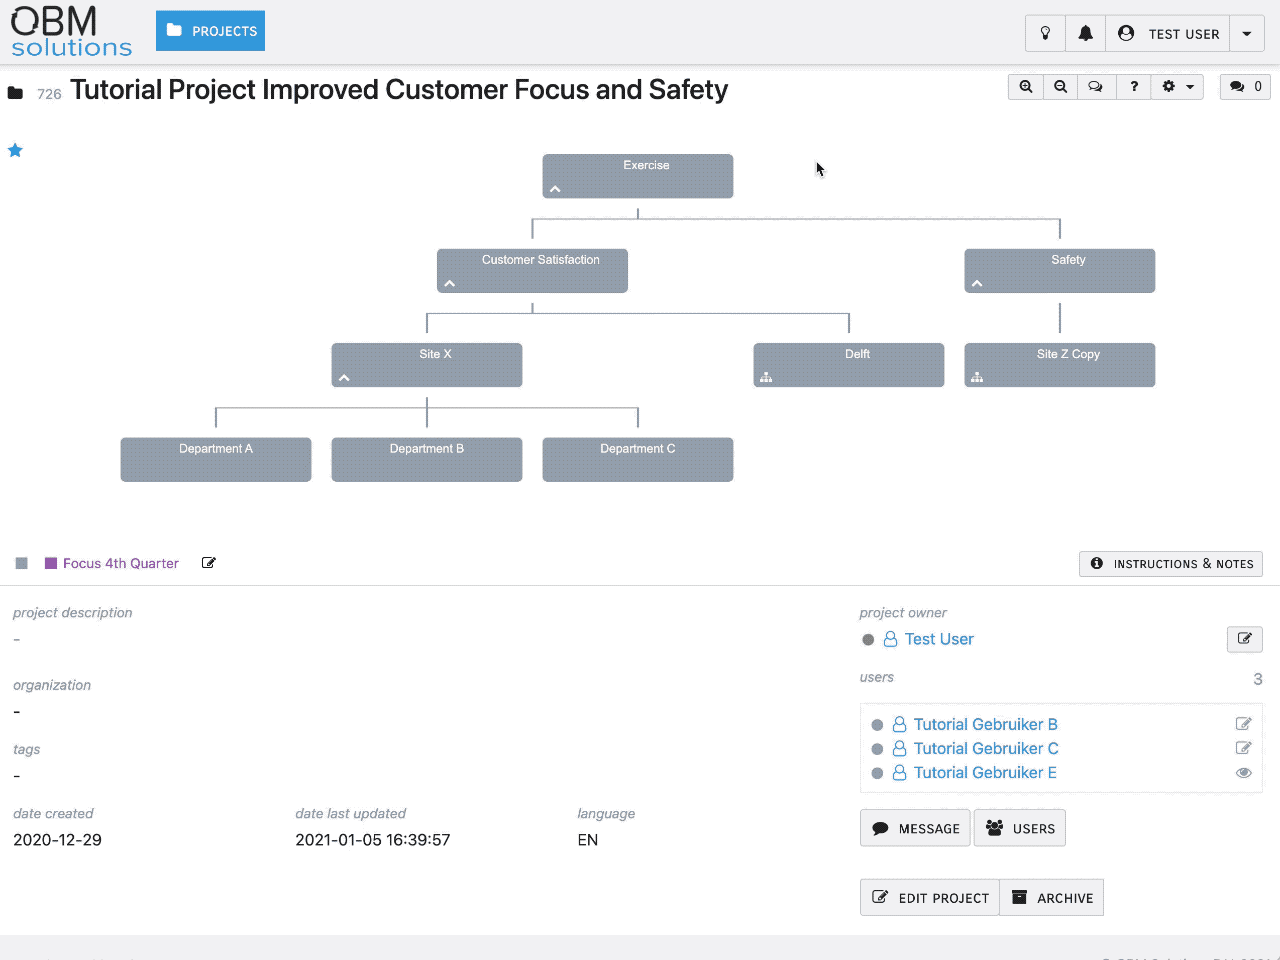
Users
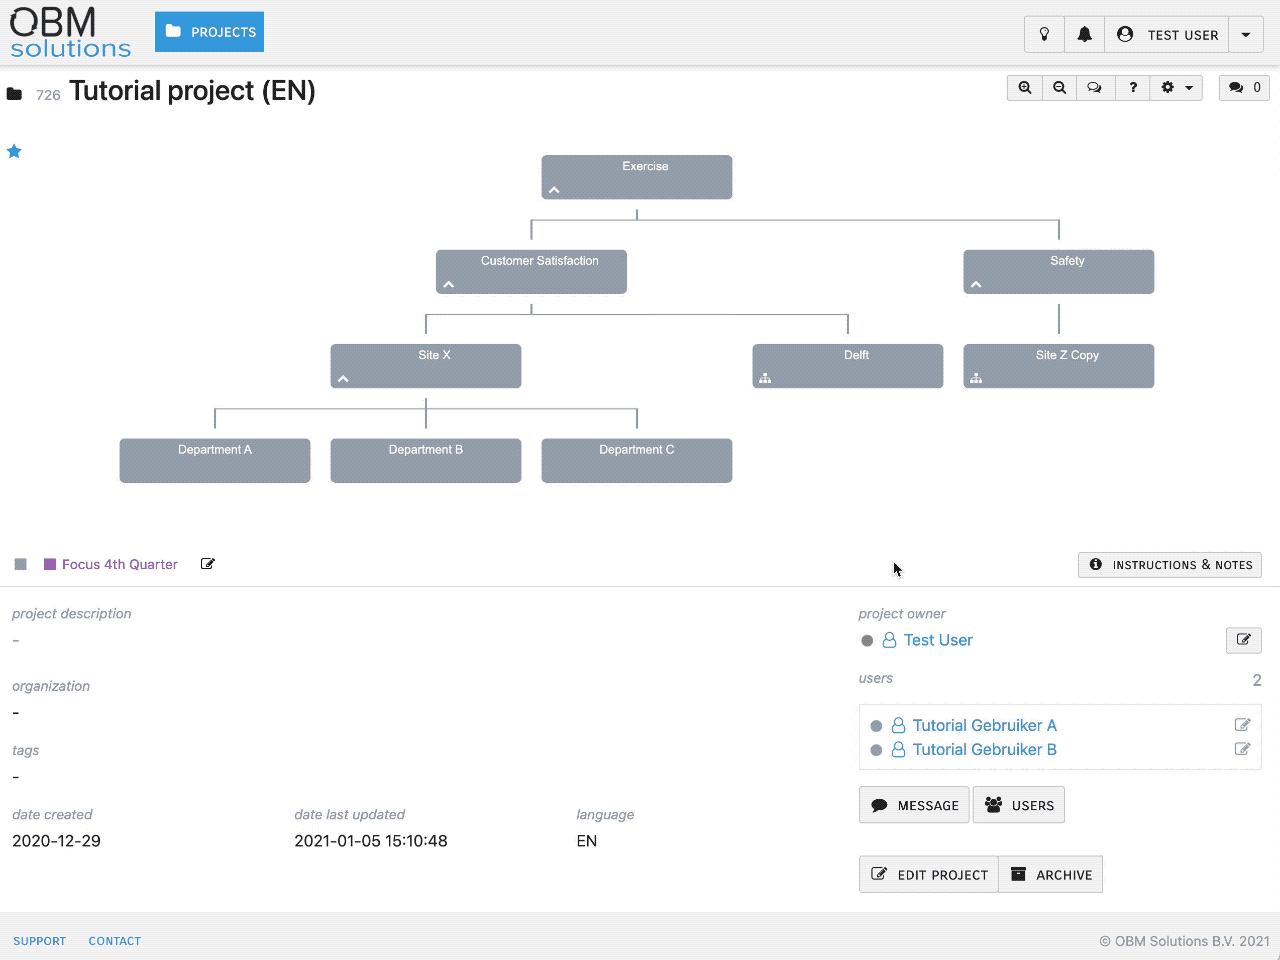
How do I create a new user?
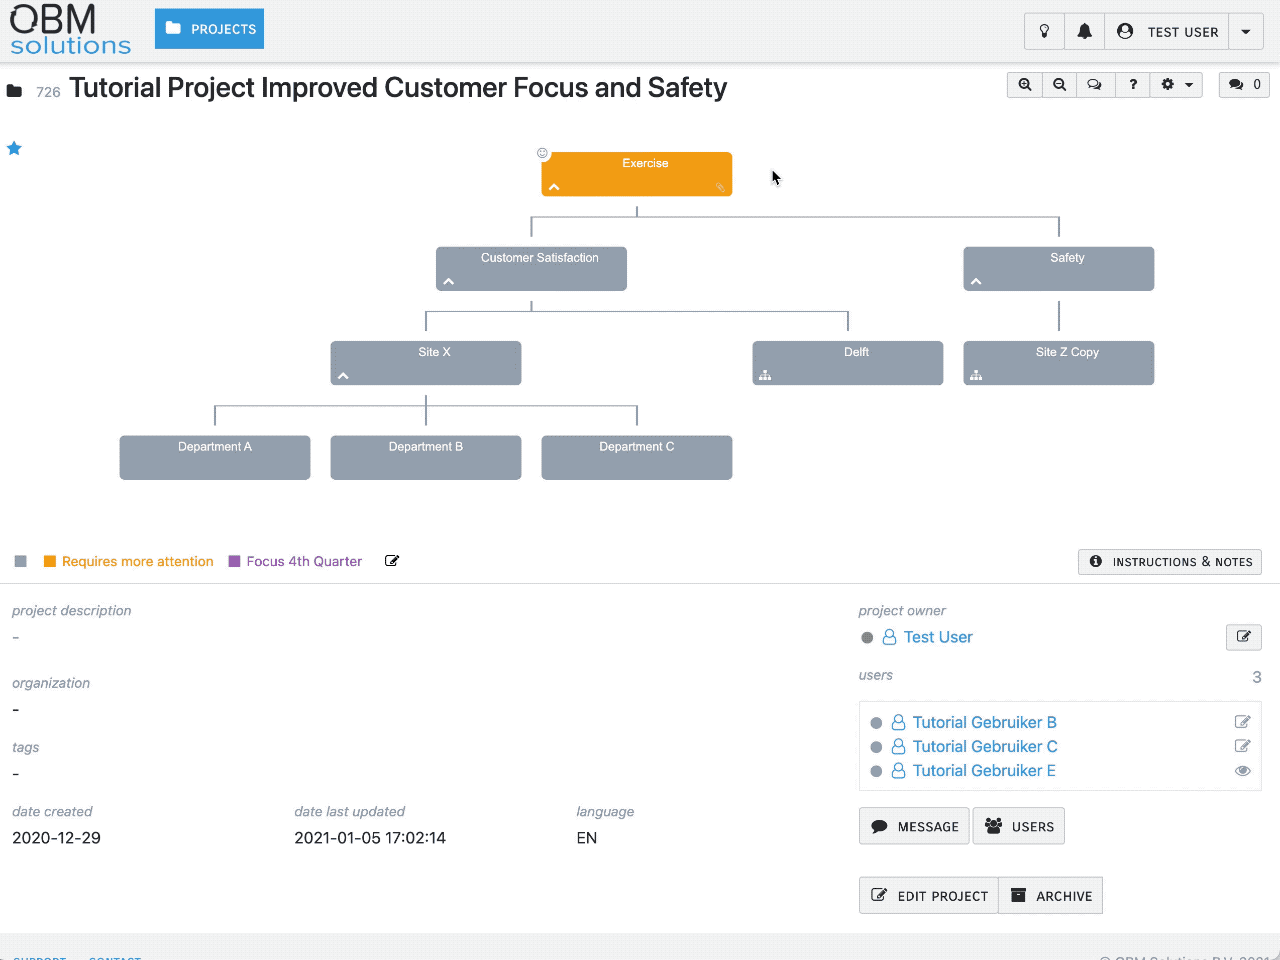
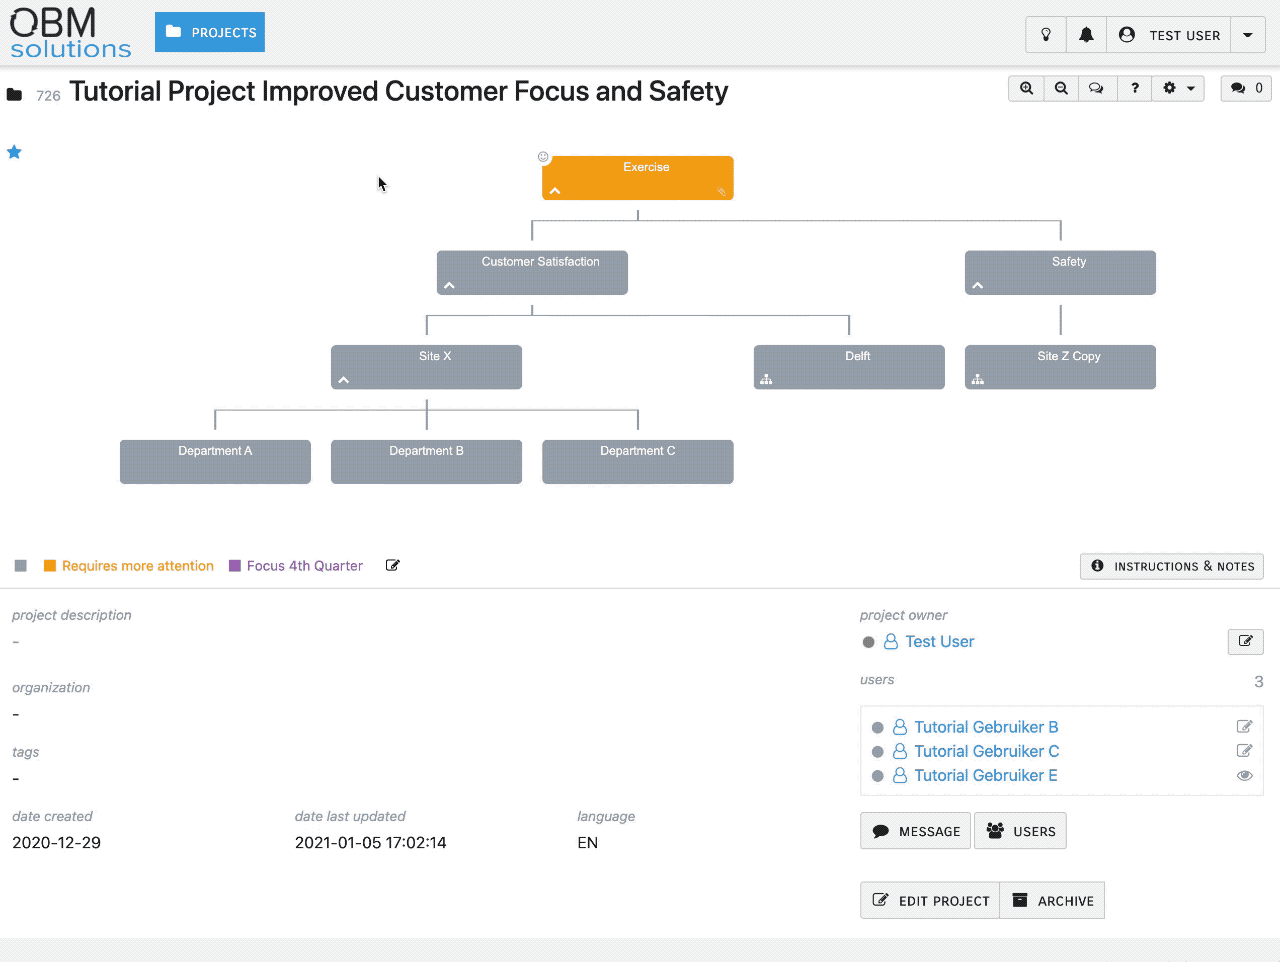
Depending on the rights you have, you can create new users. You can create a new user by clicking on "USERS" in the main menu. Next, at the top right of your screen click on [ + CREATE]. This opens a data entry screen. Enter all requested information and click "SAVE". The new user is now created. Now you are ready to link this new user to a Project. If you did not yet create a Project, then please do this first.
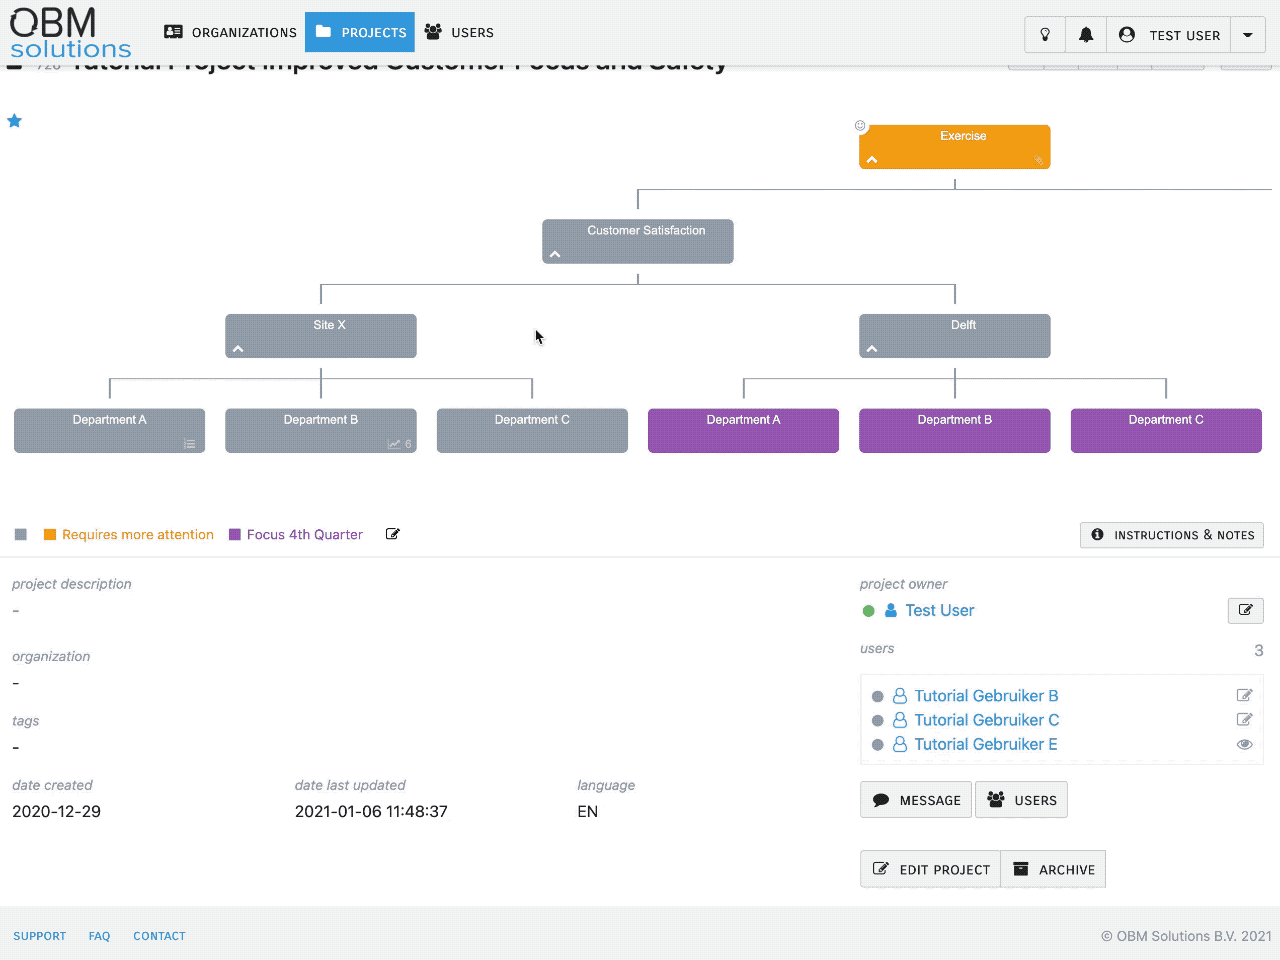
How do I add a new user to a Project?
You can add users to your Project(s), so you can share project information with them, or collaborate with them on the Project.
This is how you do this:
- Click on PROJECTS in the main menu at the top of your browser screen.
- Scroll down if necessary.
- Click the project you wish to add the user to. A new screen opens. At the bottom right you see a small label, "users" followed by a number (if no users are linked to this project, this number is zero, 0).
- Click on the button [ USERS]
- Select one of the available users. Is the list empty? In that case, add one or more users first via the USERS button in the main menu.
- Decide if the new user is allowed to collaborate and add text to this Project (select "edit" from the drop down menu), or if the user is only allowed to read the contents of this Project (select "view" from the drop down menu).
- As soon as the user is added, a new button appears next to the USERS button: [ MESSAGE], through which you can immediately contact users.
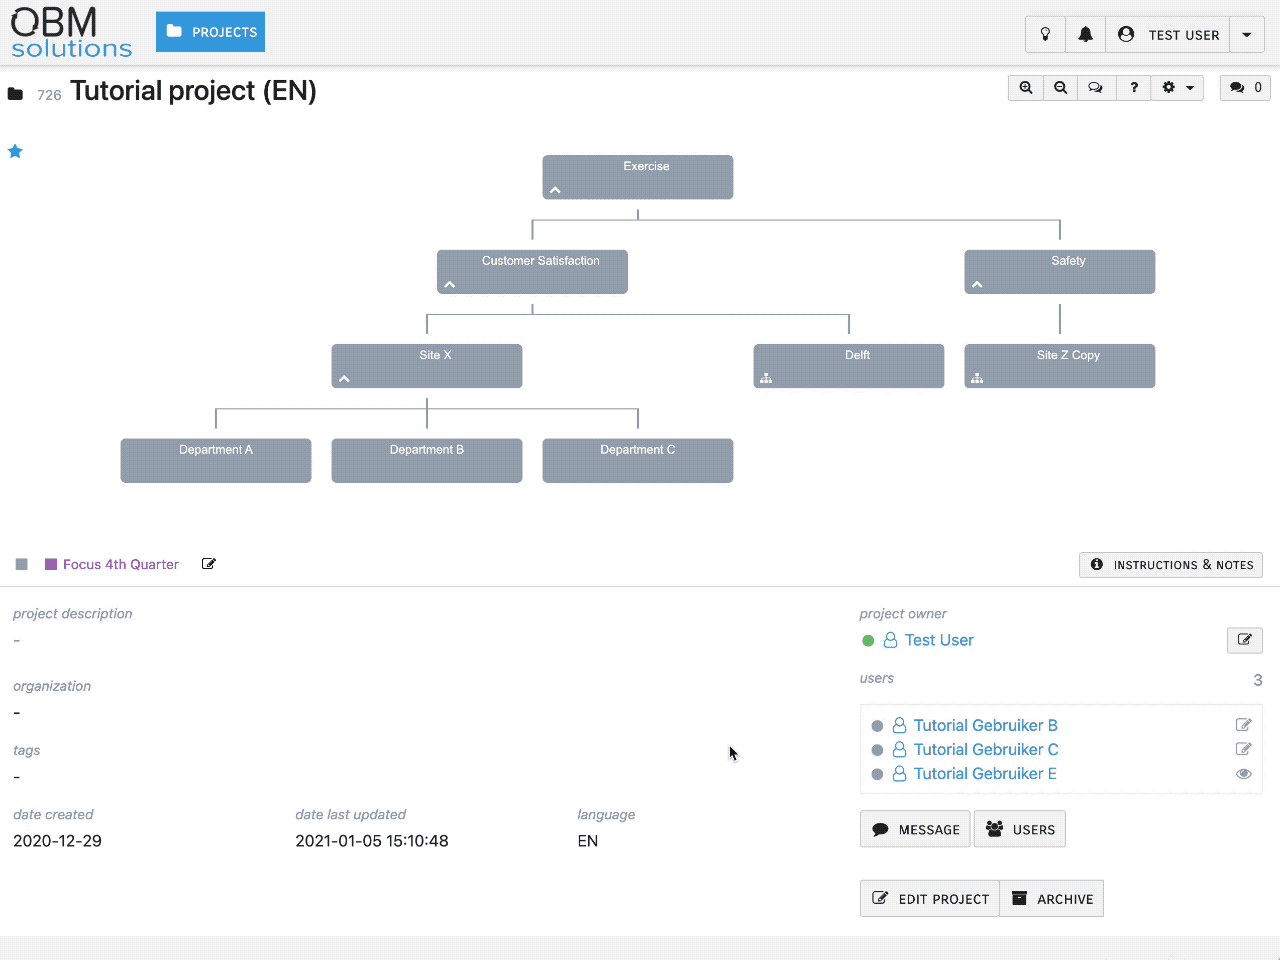
How can I add a group of users to my project in one go, using a keyword?
You can add one or more users, which are known to the system, to your Project by using keywords. Once a user has one or more keywords assigned to them in their profile, you can use these keywords to add a number of users to your Project in one go. Simply select users by matching keywords.
Example: you wish to link all managers that work in Site X to your Project. Each of them has 'manager in Site X' assigned as keyword in their profile. You can simply select all these managers automatically by using the keyword 'manager in Site X' and add them to your Project.
Next, you can set rights per individual: View, Edit or Review. Even more, you can remove people you did not wish to invite in this step, by selecting them and clicking the Trashcan icon. All changes become permanent once you click "Save".
Note: a precondition for using this method is that the profile already contains the keyword!
This is how it works:
How do I assign a new Project Owner to my Project?
As Project Owner you can decide to transfer project ownership to somebody else. Also people that have system administrator rights can do this for you, e.g. in case you are unavailable for a long time, or leave the company.
This is how you transfer ownership of your Project:

How can I send a message to my Project members?
You can easily send a simple message, compliment or videochat request to one or more of the other users that are connected to your project using the [Message] button:
Performance Improvement Plan
How do I create a Performance Improvement Plan?
You can add a PIP to every Goal in the Goal Tree:
How can I export the contents of my Performance Improvement Plan?
You can export the contents of your Performance Improvement Plan (PIP) to a HTML file, which then can be viewed, printed or saved as a PDF file. To do this, click the PIP tab in your project. Next, in the top right corner, click on the cog shaped icon, labeled "PIP Options". From the drop down menu select "Export".
You get a system message indicating the export has been completed. Next, click the "Open export" button. The PIP will be opened in a browser window. Depending on the capabilities of the browser, you can select print, or save as PDF file. Additionally you could copy and paste the text in an alternate tool, such as a word processor like Word.
Many users consider this to be a convenient step when they feel the need to have a Project overview, or use the project contents for external reports. It is simply more convenient to have all content listed, compared to browsing through each and every header and content field. The export will always list the headers of each step in the PIP, even when there is no additional content to display. Exporting an empty PIP basically shows an empty template.
Exporting is easy. This is how you export a PIP:
How can I quickly assess the progress of a PIP, or modify its progress status (status indicator)?
To generate a Project progress overview for yourself and your project members you can use the progress indicator for each step of the PIP.
Ensure you have opened the PIP tab in your Project. The indicator, shaped like a horizontal row of four small cubes, is located at the right hand side of the screen. Each step in the PIP has its own progress indicator. Once you start adding text to document progress made for a step in the PIP, four indicators appear below the text entry field. The default value, of course, is 'nothing done yet'. The progress indicator on the right side of the screen will show four empty cubes.
Once you have made progress, you can decide to change the status of a step by selecting a different indicator, e.g. 'started working', or 'made some progress'. Every time you reopen the OBM Optimizer you can easily spot which steps in the PIP require your attention. By clicking on a progress indicator you can quickly open the step that would like to work on. Also, other project members and/or your OBM Trainer/Coach can quickly assess the progress of the PIP by looking at the progress indicator for each step in the PIP.
If you decide to submit your PIP for final assessment and official examination, ensure that all indicators have status 'ready'.
This is how this works:

Graph
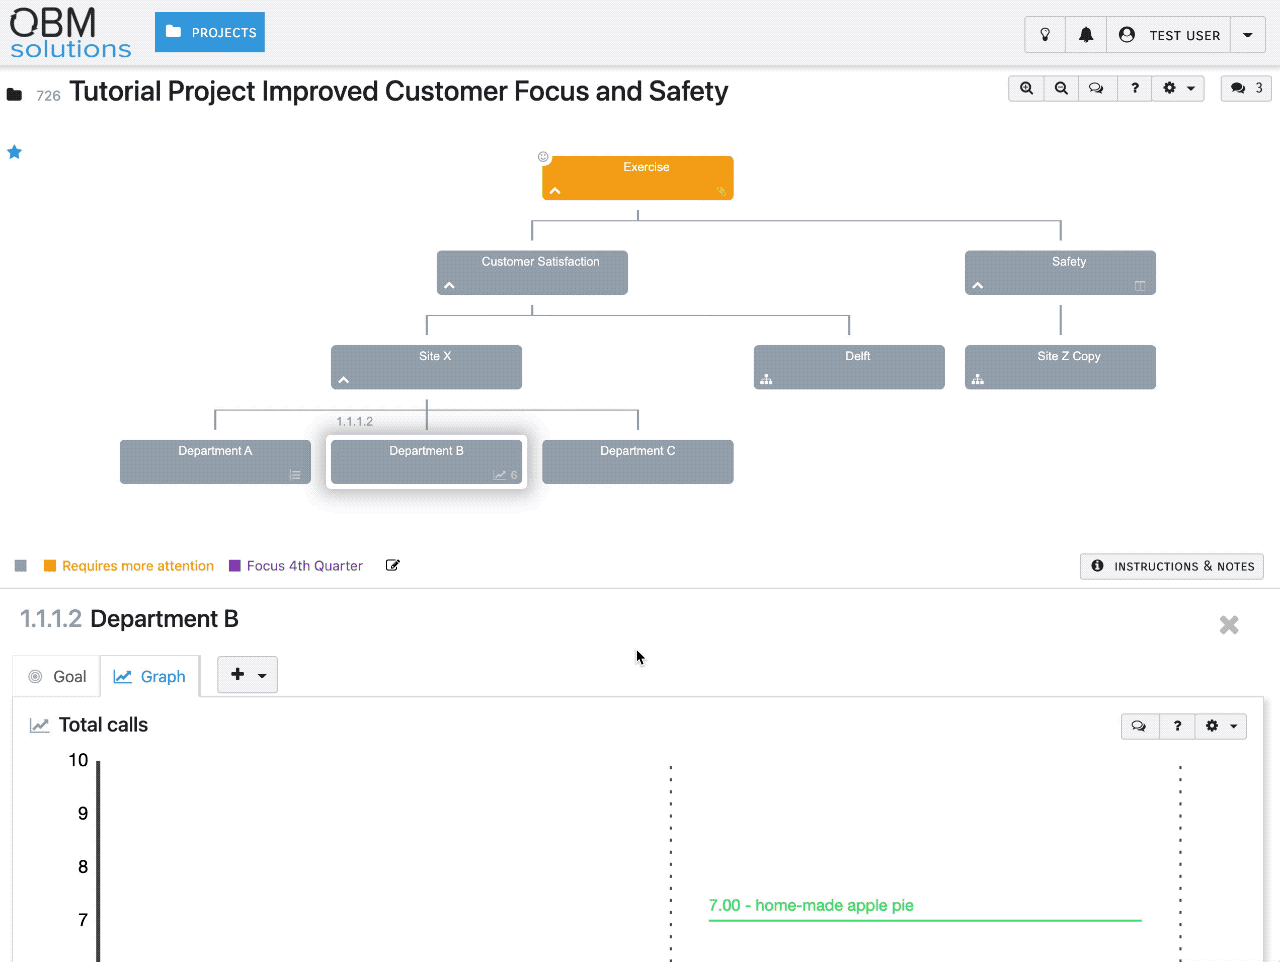
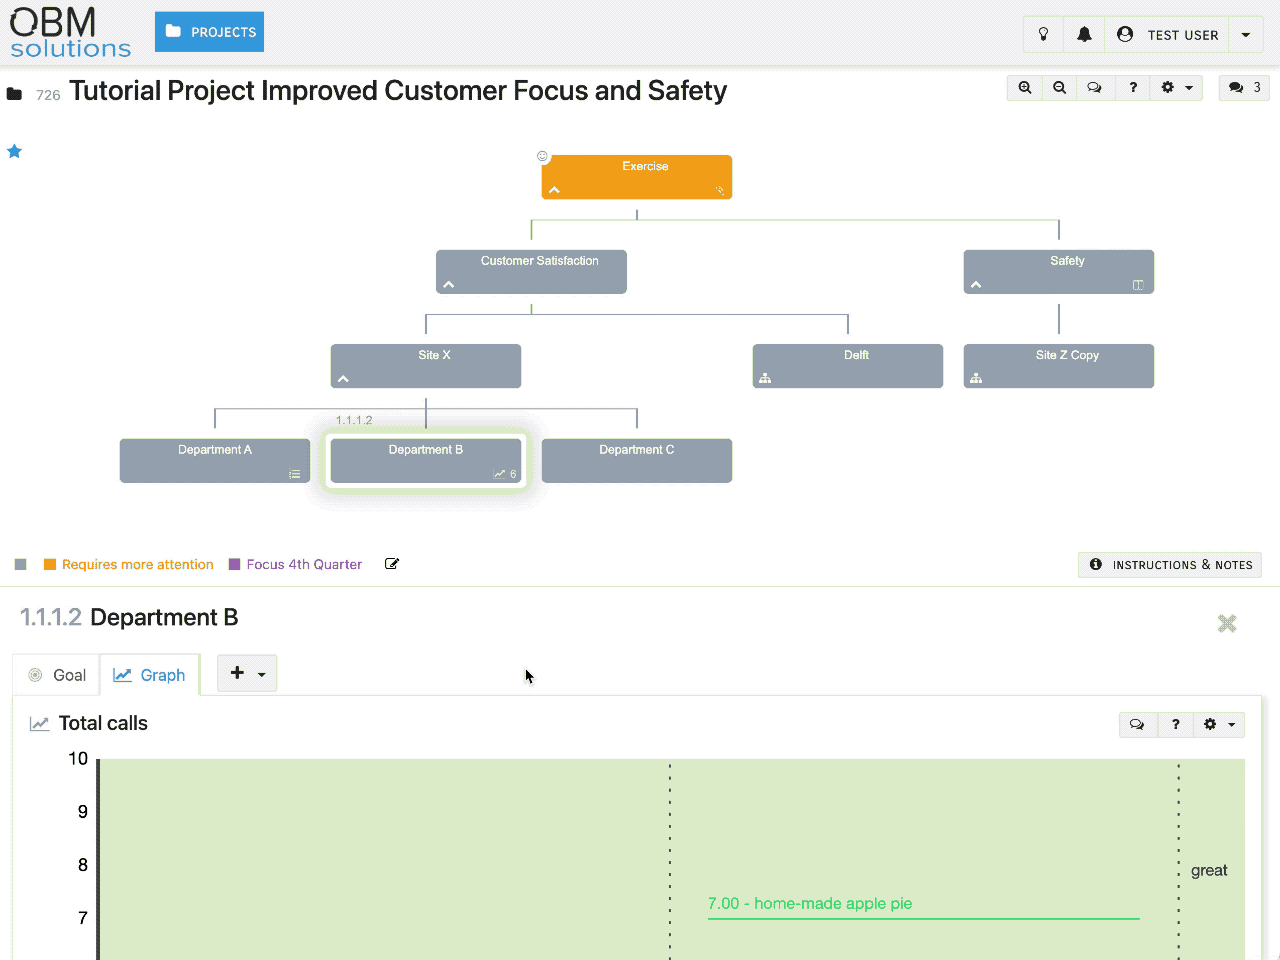
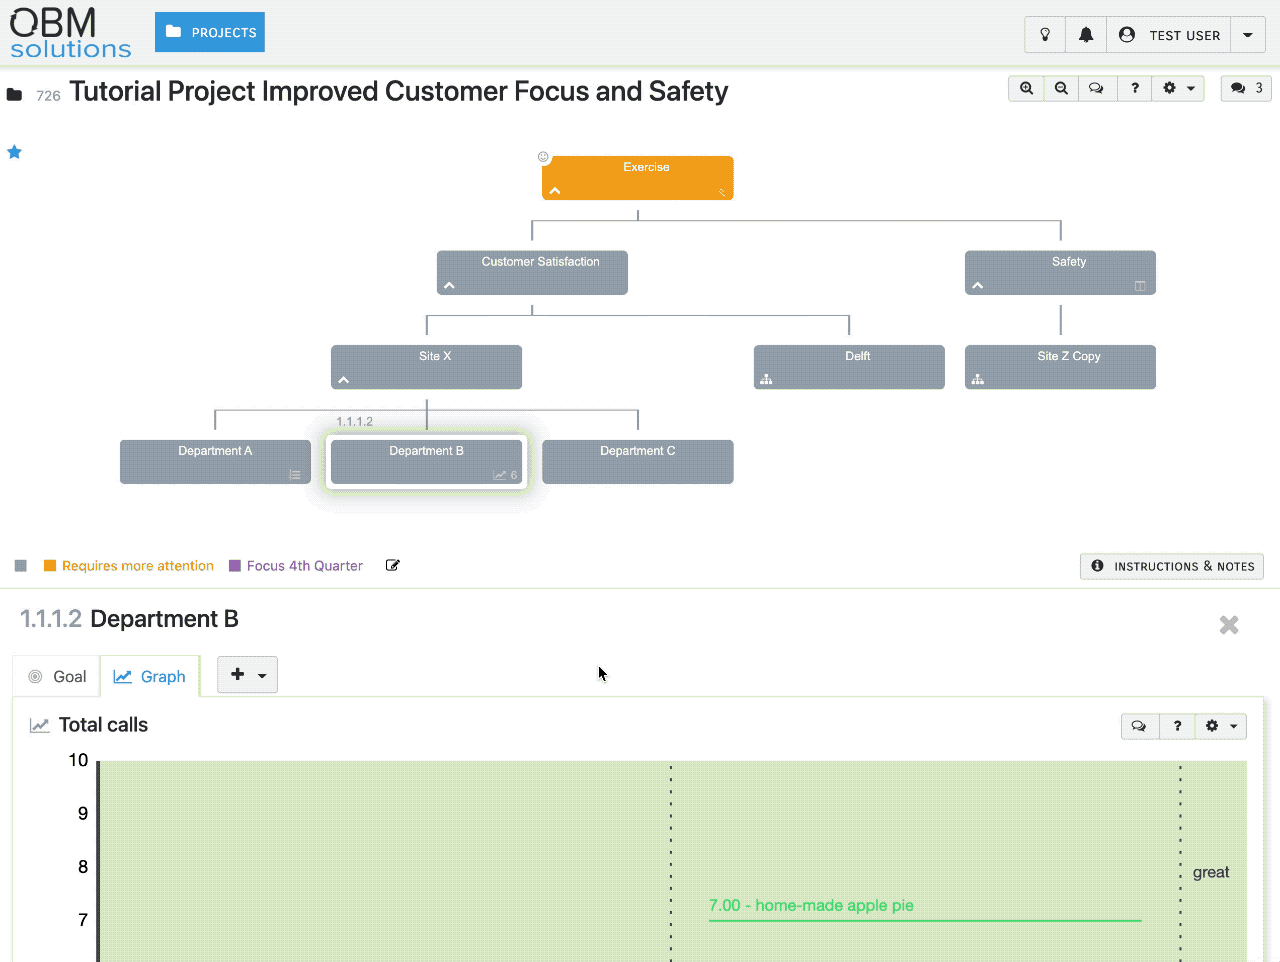
How do I create a Graph?
Add a graph module to a Project Goal, label the x and y axis and enter some data points.
How do I add Graph goals and rewards?
Multiple goals can be added to a Graph, visualized by horizontal colored lines.
How can I add color to specific areas in an OBM-graph?
To change the color of specific areas in your graph you open the 'Edit Graph' window, which allows you to change properties of your graph.
Ensure you are on the Graph tab of the PIP. To open the 'Edit Graph' window, click on the title of the graph. Alternatively, click on the cog shaped icon (top right corner of the graph) and select EDIT from the drop down menu.
The Edit Graph window appears.
Next, click on the COLORED AREAS icon. This allows you to set the bottom value, top value, area title and pick a color.
This is how you assign a color to a specific area in the graph:
How do I show averages and trendlines in a Graph?
Toggle the checkboxes under each Graph to display various visual elements.
How can I export an OBM-graph as an image, or as HTML?
For situations in which you need to use your graph in external reports, or in other tools, we offer you two ways of exporting your graph.
These come available by clicking on the gear shaped icon (top right corner of the graph tab of your PIP).
- Export image
- Export
The first option saves a .png image file locally on your computer. This is only the image of the graph itself.
The second option allows you to export your complete graph, including measurement data, subgoals and rewards as HTML page. When the export is completed the Target Exported window appears. If you click the OPEN EXPORT button, the generated HTML page opens in a new browser tab. Now you can decide how to use this HTML page: print, save as PDF file, or copy and paste in other applications.
This is how you export an OBM-graph:

How do I export the measuring data from my OBM-graph for use in other applications?
The data you have entered in the 'Measurements' section of your graph can be exported as a .xlsx or as a .csv file.
Click on the 'Export measurements' icon at the bottom right side of the 'Measurements' section of the graph and select the desired file type.
After exporting these data, you can open the file, e.g. in a spreadsheet application.
This is how you export measuring data of your OBM-graph:
Miscellaneous
How do I add questions or remarks regarding a project and make these visible to other project members?
In most cases you will collaborate with others on your Project. It can be convenient to share thoughts, questions and remarks without having to edit the text already entered in the PIP. This feature is particularly useful for project members that do not have rights to modify project data, but are allowed to read those. Through this function they can add remarks, thoughts and questions.
To add a question or a remark, use the button shaped like a speech bubble [ ]. You will find one next to virtually every functionality and data or text entry field.
This is how that works:

Note: these remarks and questions are visible to ALL project members, which is nice, considering the transparent characteristics of OBM projects. In case you wish to address one or more specific project members, then it is better to send them a direct message. (Please visit the tutorial called "User management" to see how that works).
This function is also extremely valuable for consulting your OBM Trainer/Coach. In stead of sending lengthy emails, explaining what your question is and where to find more details, simply add your remark, or question at the relevant spot in the PIP. Your coach will see a notification and will use a direct link to go to your remark(s) or question(s) in the PIP.
Note that after posting your remark or question, next to the speech bubble icon a number has appeared (1), in this case indicating that on that specific spot one (1) new remark or question is posted.
The total overview of all remarks will also indicate that a new remark or question has been posted. This will have the status 'read', because you are the one who posted it. For other project members the status of the remark will be 'unread'. They are offered a link to directly access and view the remark or question in the PIP.
How do I conduct an ABC Analysis?
Conducting and logging an ABC Analysis in the OBM Optimizer is done slightly different from what you may be used to.
When conducted on paper, or on a whiteboard, we usually use two columns. One column listing Antecedents on the left and one column listing Consequences on the right. The Behavior of interest is centered on top of these two columns.
The OBM Optimizer presents the ABC Analysis in a vertical model, where Antecedents are listed before the Behavior and Consequences below the Behavior of interest.
Conducting the ABC Analysis is of course identical to what we normally do. This tool offers the possibility to add extra remarks, or clarifications to each of the Antecedents and Consequences listed. This tool also determines and shows the relative power of every Consequence listed.
This is how this works:

How do I restore previous versions of my texts (version control)?
We have implemented a simple version control system in the OBM Optimizer. It can be used to view previous versions of your PIP, and you can use it to deliberately save a version with a specific date of the PIP. Additionally, you can use this tool to restore older versions of the PIP, in case the current version somehow got compromised, e.g. because somebody accidentally deleted text.
Each time you deliberately click the [ UPDATE] button, a version of the complete text in the entry field is saved. This update button appears only after you have actually changed the contents. Restoring a previous version is simple. After saving updated content at least twice, a new, small button appears on the bottom right side of the text entry field. The button shows a number and three dots. By clicking on that button a version control screen appears, which allows you to make a selection out of previous versions. The number indicates the available number of back-up copies of the entry field.
This is how you restore a previous version:

How can I add a Project to my Favorites?
Add a Project to your favorites by using the star icon buttons.

How do I open an attachment?
Simply click on the link of an attached file to download or open the attachment in the browser.
How do I add an attachment to a Project Goal?
Add the attachment module to the Project Goal and upload your file, or use the [+ NEW ATTACHMENT] button in an existing attachment module.
How do I remove an attachment?
Each attached file can be removed with the 'Delete attachment' button.
